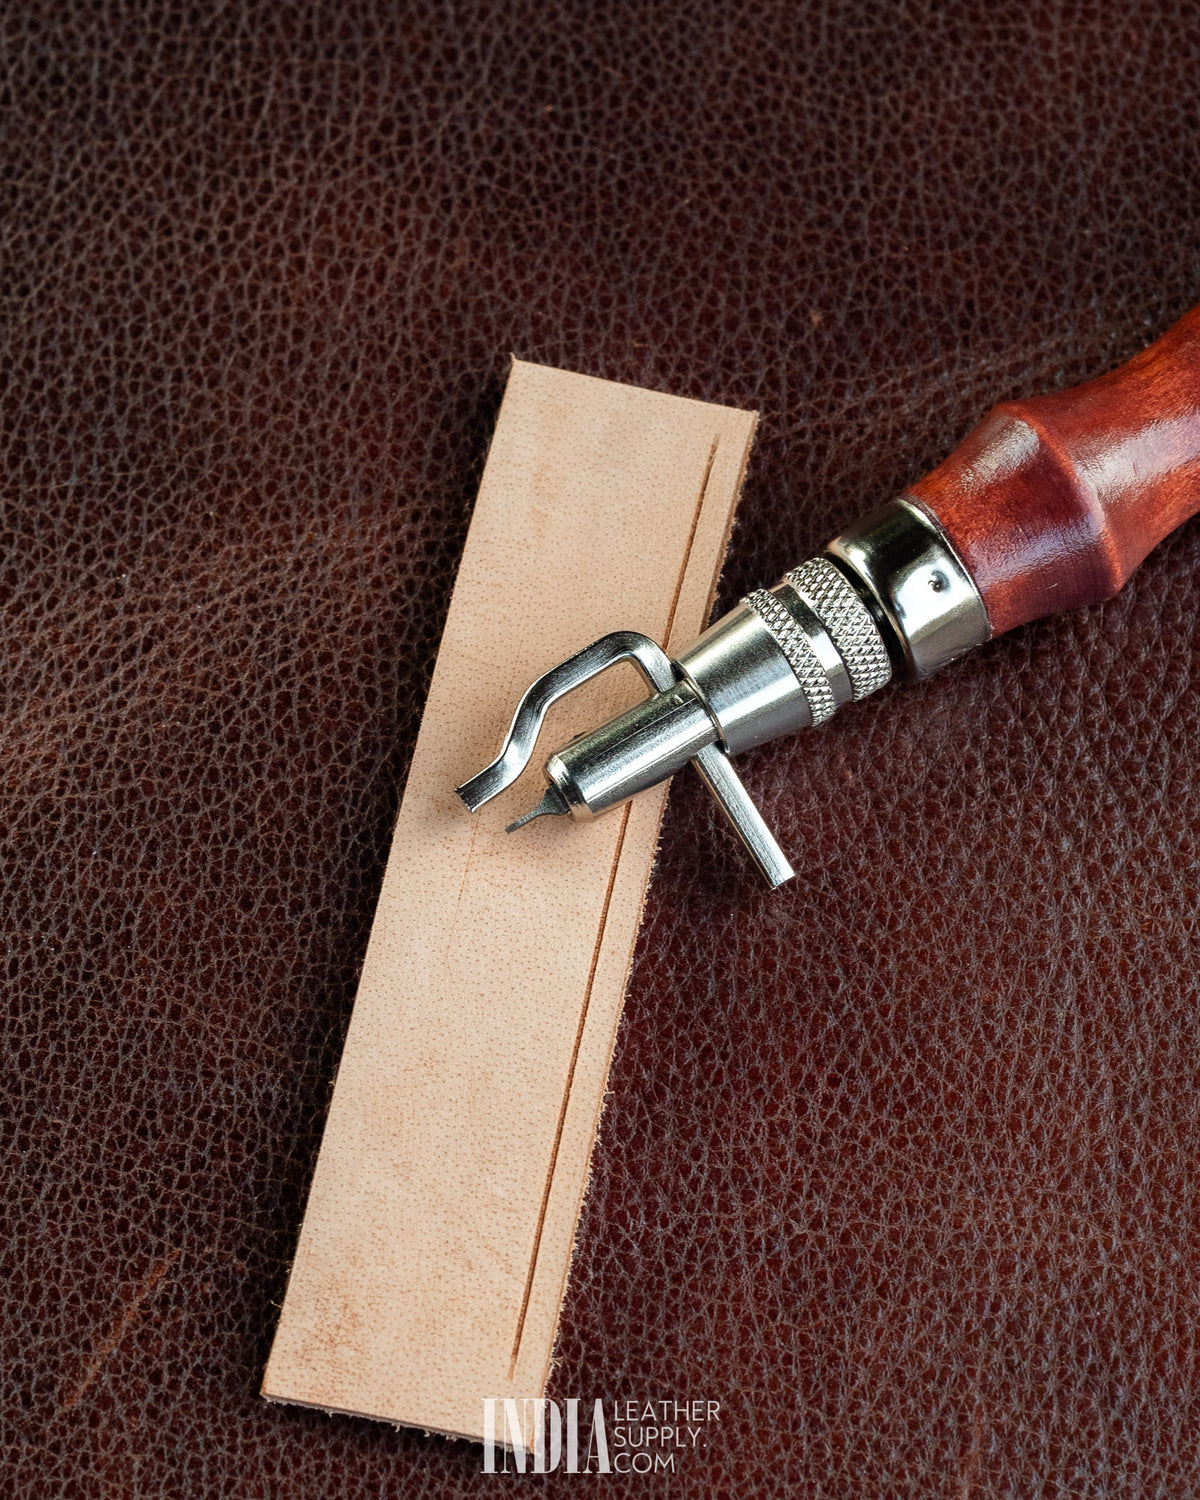


Groover, Creaser & Beveller Multi-Tool
Groover, Creaser & Beveller Multi-Tool
Couldn't load pickup availability
One hardwood handle, five interchangeable heads and an adjustable edge guide. This tool covers three separate jobs in stitch and edge preparation: cutting a stitch groove, pressing a decorative crease line and bevelling the edge, so most of the prep work on a piece is done without reaching for another tool.
The heads lock into a knurled collet at the front of the handle and change in seconds. An L-shaped guide clamps into the collar and rides along the edge of the leather, so grooves and crease lines run at an even distance from the edge all the way round.
What Is in the Set
🪵 Handle with Collet
Hardwood handle with a knurled collet that grips whichever head is fitted, and a collar that carries the guide.
📐 Adjustable Edge Guide
An L-shaped arm that slides through the collar to set the distance from the edge, locked with a small screw.
〰️ Grooving Head
Cuts a narrow channel in the surface of the leather for the stitches to sit in.
✏️ Creasing Head
Presses a fine decorative line into the leather without cutting it.
🔪 Three Edge Bevellers
0.8 mm, 1.0 mm and 1.2 mm heads that shave the sharp corner off a cut edge.
🔧 Hex Key
For loosening and tightening the screw that locks the guide in place.
What Each Head Does
〰️ Grooving Head: the stitch groove
Used with the guide, it lifts out a fine thread of leather, leaving a clean, shallow channel a set distance in from the edge. On dyed or finished leather, the groove exposes the lighter fibres beneath and shows as a crisp contrasting line. The groove does two jobs. It marks a straight, even line for your stitching chisel to follow, and once sewn, the thread sits down inside it instead of standing proud of the surface, so the stitches are protected from rubbing and wear. Grooving is most useful on belts, straps, wallets and anything that gets handled a lot.
✏️ Creasing Head: the decorative line
Also used with the guide, it presses a fine line into the grain without removing any leather. A crease line just inside the edge gives a finished, traditional border on belts, straps, key fobs and wallet panels. It works best on vegetable-tanned leather, where the line darkens and stays crisp, especially if the surface is lightly dampened first.
🔪 Edge Bevellers: rounding the edge
Used freehand, with the guide removed or swung clear, each beveller is pushed along the cut edge to shave a thin strip off the square corner. A sharp head held at a steady angle takes it off in one continuous curl. A bevelled edge is softer to the touch, does not fray or scuff as easily, and burnishes into a smooth, rounded finish. The three sizes take off a progressively wider strip: use the smaller head on thin leather and the larger heads as the leather gets thicker. Bevel both the top and the bottom corner of the edge before burnishing.
Setting Up
Fit a head. Unscrew the knurled collet a little, push the head fully in, and tighten the collet by hand so it grips firmly.
Set the guide. For grooving or creasing, slide the guide arm through the collar until its tip sits the distance you want from the head, then lock it with the hex key.
Test on a scrap. Run a line on an offcut of the same leather and check the distance and depth before working on the piece.
Run the line. Keep the guide pressed lightly against the edge and draw the tool towards you in one steady pass.
💡 Tips for Clean Lines
✓ Groove before you punch. Cut the groove first, then set your Stitching Chisels into it, so the holes land exactly on the line.
✓ Light passes, not deep ones. A shallow groove is enough to seat the thread. Cutting too deep weakens the leather along the stitch line.
✓ Corners in two strokes. Stop at a corner, lift the tool, turn the piece and start the next side from the corner, rather than dragging the head round.
✓ Bevel with the grain side up first. Bevel the top edge, turn the piece over and bevel the underside, so the edge is evenly rounded before burnishing.
Specifications
| Specification | Detail |
|---|---|
| Set Contents | Handle, edge guide, hex key, grooving head, creasing head, 3 edge bevellers |
| Edge Beveller Sizes | 0.8 mm, 1.0 mm, 1.2 mm |
| Head Fitting | Knurled collet, tool-free head change |
| Guide | Adjustable L-shaped arm, locked with hex key |
| Handle | Hardwood |
⚠️ Safety Notice: The grooving and bevelling heads are sharp. Always cut away from your fingers, store the heads with their edges protected, and keep out of reach of children.
Workshop Grade Tools: Minor surface marks, machining lines, light scratches or small handling marks may be present. These are cosmetic and do not affect how the tool cuts or performs.
Share