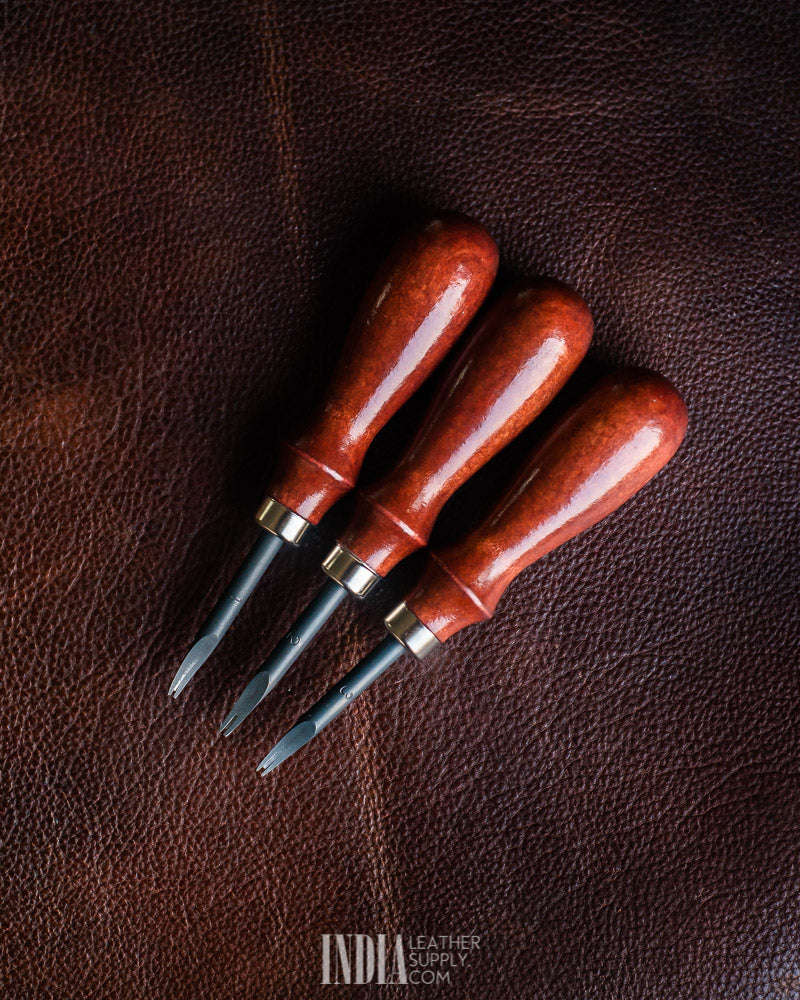


Edge Beveller (Japanese Style)
Edge Beveller (Japanese Style)
Couldn't load pickup availability
An edge beveller trims the sharp, square corner off a cut leather edge, leaving it slightly rounded. It is the step that comes before burnishing or edge painting, and it is what makes a finished edge look smooth and feel comfortable in the hand instead of sharp and boxy.
This Japanese-style beveller has a blade of high-speed steel (HSS), which holds its edge well with regular stropping. The forked tip guides itself along the corner of the leather and lifts off a thin, even strip with light pressure, on straight edges and curves alike. The turned wooden handle fills the palm, and a metal ferrule reinforces the joint between blade and handle.
Applications
✨ Before Burnishing
Round the corners so the edge burnishes into a smooth, even dome.
🎨 Before Edge Paint
Give edge paint a rounded profile to sit on, so it is less likely to chip.
🔖 Belts & Straps
Soften long edges that rub against skin and clothing.
👛 Wallets & Small Goods
Refine the edges of card slots, flaps and outer panels.
Key Features
🔩 HSS Blade
High-speed steel keeps a keen edge for longer between sharpenings.
🎯 Controlled, Even Cut
Removes a narrow, consistent strip instead of digging in, for repeatable results.
〰️ Straight Edges & Curves
The slim blade follows straight runs and gentle curves with equal ease.
✋ Palm-Filling Wooden Handle
Turned from solid wood for a stable grip, with a metal ferrule at the blade joint.
Choosing a Size
The size number refers to the width of the groove, which decides how much of the corner is removed. Match it to the thickness of the edge you are bevelling. If you are between two sizes, the smaller one is the safer choice.
| Size | Groove Width | Best Suited Leather Thickness |
|---|---|---|
| #1 | 0.8 mm | 1.2 – 2.0 mm |
| #2 | 1.0 mm | 2.0 – 3.0 mm |
| #3 | 1.2 mm | 3.0 – 4.0 mm |
How to Use
Prepare the edge. Start with a clean, straight-cut edge. On glued layers, sand the edge flush first.
Position. Lay the leather flat near the edge of the bench and seat the groove of the tool over the corner of the leather.
Push. Hold the tool at a low, steady angle and push it forward in one continuous stroke. A thin strip should curl away from the corner.
Repeat on the other side. Turn the piece over and bevel the opposite corner, then burnish or paint the edge.
💡 Tips for a Clean Bevel
✓ Keep the angle constant. Changing the angle mid-stroke makes the bevel wavy. Lock your wrist and move from the arm.
✓ Do not stop and start. Each restart leaves a small step. Aim for long, unbroken strokes.
✓ Firm leather bevels best. Vegetable-tanned and other firm leathers cut cleanly. Soft leathers tend to stretch and bunch ahead of the blade.
✓ Practise on an offcut. Try the same leather first to find the angle and pressure that work.
🔧 Keeping It Sharp
✓ Strop the groove often. Rub a sharpening compound onto a strip of leather or a cord that fits the groove, and draw the tool backwards along it several times.
✓ Sharpen only when needed. If stropping no longer restores the cut, wrap fine emery paper over a thin rod or the edge of a card that fits the groove and draw the tool backwards over it, then strop again.
✓ Always pull, never push. Pushing the edge into a strop or paper cuts into it and dulls the tool.
Specifications
| Specification | Detail |
|---|---|
| Blade Material | High-speed steel (HSS) |
| Handle Material | Solid wood, with metal ferrule |
| Blade Length | 44 mm |
| Overall Length | 137 mm |
| Handle Diameter (max) | 27 mm |
| Available Sizes | #1, #2, #3 |
⚠️ Safety Notice: The tip is sharp. Always push the tool away from your body, keep your holding hand behind the cutting edge, and store it with the tip protected. Keep out of reach of children.
Workshop Grade Tool: The handle is natural wood, so grain and colour will vary between pieces. Minor tooling marks and finish variation may be present and do not affect function.
Share