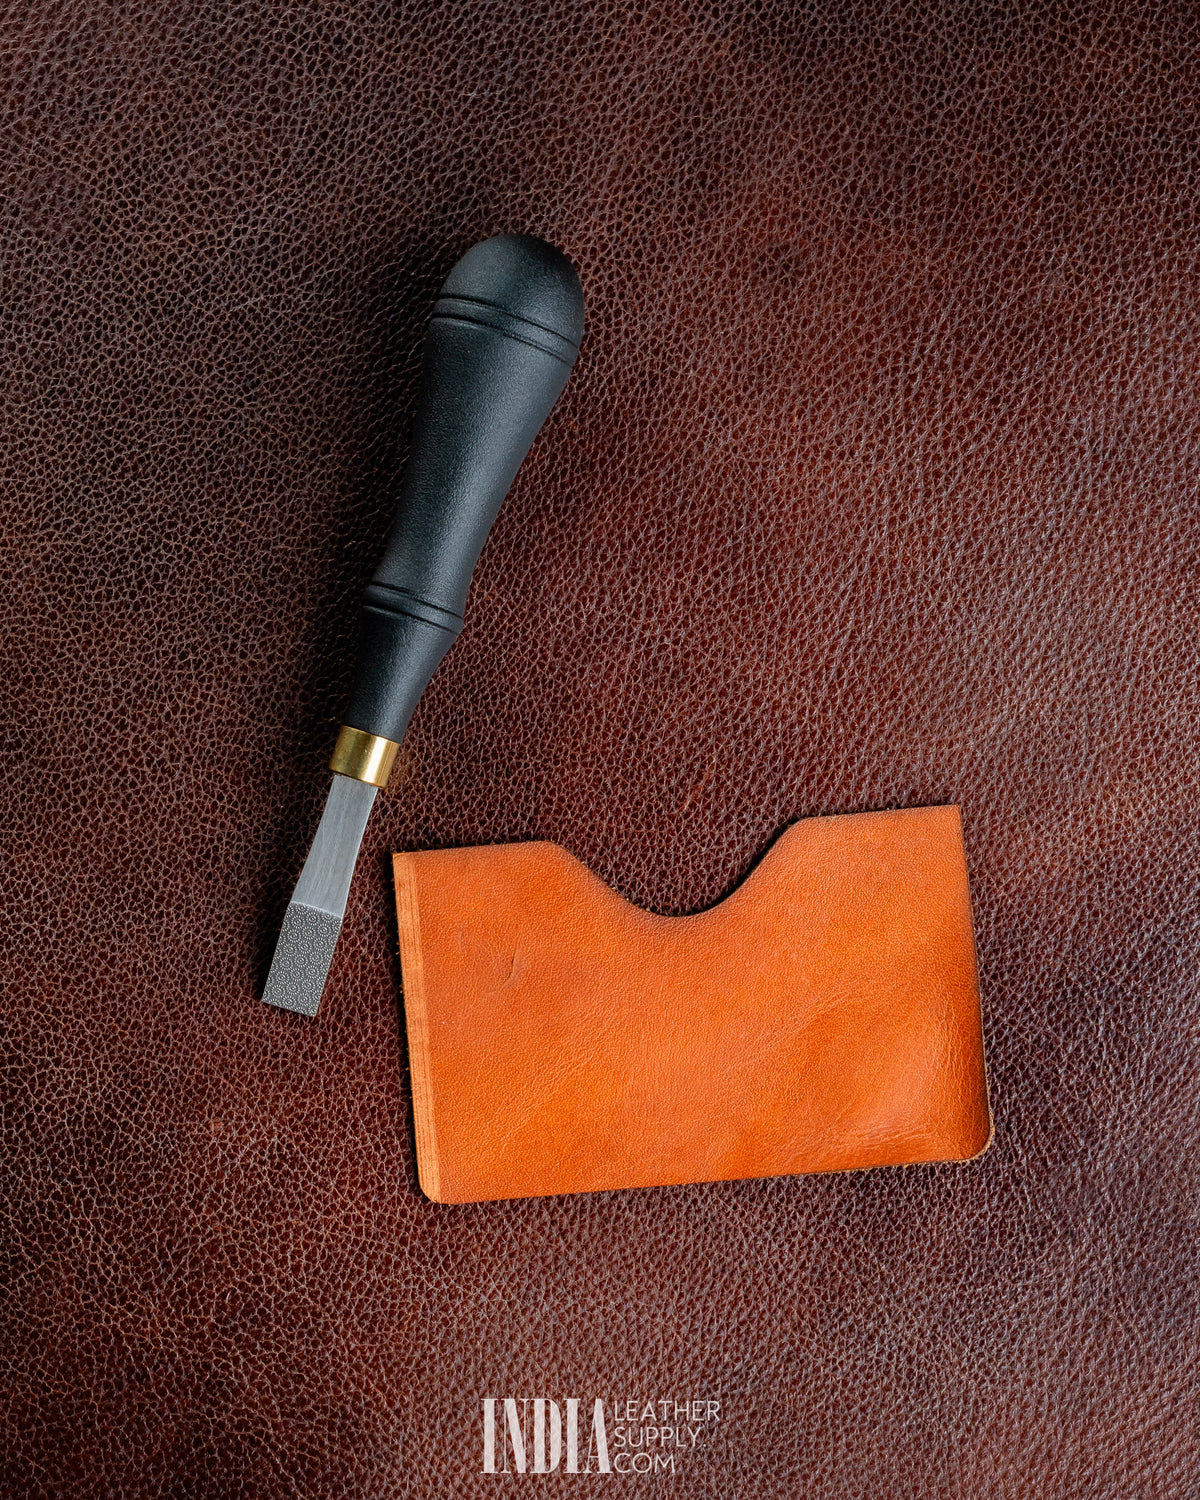


Leather Detail Rougher (Glue Prep Tool)
Leather Detail Rougher (Glue Prep Tool)
Couldn't load pickup availability
If a glued joint has ever peeled apart on you, this is usually why. Most leather arrives with a finish on it. Contact cement sticks beautifully to that finish, and then the finish lets go of the leather. The bond was never leather to leather. It was glue to coating.
This tool fixes that. It is a detail rougher, a small steel head cut with teeth that scratches a controlled band into the surface, through the finish and into the fibre underneath. Glue then grips raw leather with far more surface area to hold on to, and the joint stops being the weak point in your work.
Why Not Just Use Sandpaper?
Two reasons, and the second one is the one people forget.
First, sandpaper has no edges. It wanders past the glue line onto leather that will still be visible, it rounds over the crisp edge you just cut, and it is almost impossible to repeat the same band twice. The square head on this tool gives you a defined start and stop and a straight side, so the roughed band lands exactly where you put it and nowhere else.
Second, sandpaper is a consumable. This is not. Every sheet loses its bite, clogs with leather dust and finish, and ends up in the bin. Then you buy more. This is a tool you buy once and keep on the bench, and it will still be keying glue lines years from now. Add up what you spend on sheets over a couple of years of steady work and the arithmetic gets very one-sided.
Use It With a Ruler. That Is the Whole Trick.
Lay a steel rule along the inside edge of the area you want to rough, hold it down, and run the head against it like a fence. The band comes out dead straight, exactly the width of the head, with clean ends, and every panel in a run of twenty gets treated identically.
Almost everyone who finds this tool fiddly is using it freehand. Give it a straight edge to follow and it becomes one of the easiest tools on the bench.
Why It Takes a Few Passes, and Why That Is Deliberate
Expect 4 to 6 passes, more on a heavily finished or waxy leather, fewer on something open and thirsty.
That is by design. The teeth on this head are not razor sharp, and they were never meant to be. A viciously aggressive rougher takes the decision out of your hands: one heavy stroke and you have gouged through a thin lining, scarred a face that was going to be visible, or opened up your thumb. This head cuts in small, controlled increments instead. You watch the surface change over a few passes and you stop exactly where you want to be.
A few extra seconds per seam, in exchange for a tool that is hard to hurt yourself with and hard to ruin a panel with. On a workshop bench, and especially anywhere someone else might pick it up, that is the right trade.
Which Head Width Do I Need?
| Head | Best for | Typical work |
|---|---|---|
| 5mm | Narrow glue lines where a wider band would stray past the seam | Card holders, wallet interiors, watch straps, thin turnbacks, belt keepers, lining edges |
| 10mm | Wide glue areas you want covered in fewer passes | Bag panels and gussets, belt laminations, straps, sheaths, anything with a broad bonded face |
Buying just one? Take the 10mm if you mostly make bags, belts and straps. Take the 5mm if you mostly make small leather goods, where a 10mm band would show past the edge. Plenty of workshops end up keeping both on the bench.
How to Use It
1. Set your ruler
Lay the piece flat, put a steel rule along the inside edge of the glue area, and hold it firmly. The rule is your fence.
2. Draw, do not dig
Pull the head along the rule with light, even pressure. Repeat 4 to 6 times. Let the teeth do the work rather than forcing them.
3. Stop when it goes matte
The moment the shine disappears and the surface looks slightly fuzzy, you are done. Dust it off and glue.
Where it matters most: chrome-tanned leather, anything with a pigmented or coated finish, oily and waxy leathers, and any lining that has to stay stuck for years. On loose veg-tan flesh side you often do not need it. On a finished grain surface you almost always do.
Pairs with: Intercom ECOSTICK 1816B, our water-based contact adhesive from INTERCOM, Italy. Rough the band, spread the glue, and the bond forms leather to leather.
Where It Earns Its Place
🧷 Lining That Stays Stuck
🎒 Bag Panels & Gussets
🪢 Belt & Strap Laminations
💳 Card Slots & Wallet Interiors
⌚ Watch Strap Build-Ups
🩹 Patch & Repair Work
Key Features
♾️ Buy Once, Not Again
Sandpaper clogs, dulls and gets binned. This is a tool, not a consumable. It stays on your bench and keeps working.
📏 Runs Against a Ruler
Use a steel rule as a fence and every band comes out straight and identical, with no marking out, right across a production run.
🛡️ Controlled Cut, Not a Razor
Deliberately restrained teeth. You build the key over 4 to 6 passes instead of gouging it in one, which protects the leather and your hands.
📐 Square Head, Defined Band
Clean start and stop points and a straight side, so nothing strays onto leather that will show in the finished piece.
✋ Moulded Handle
Shaped for a secure pull through a long run of panels without cramping your hand.
🧵 Works on Every Leather
Veg-tan, chrome-tan, coated, oiled, suede-backed and synthetic linings alike.
Specifications
| Specification | Details |
|---|---|
| Tool Type | Detail rougher / leather roughing file |
| Head Widths | 5mm or 10mm (choose above) |
| Head Shape | Square, for a defined start and stop |
| Head Material | Toothed steel |
| Cut | Moderate by design, for control and safety |
| Passes Needed | Typically 4 to 6, depending on leather and finish |
| Handle | Injection-moulded, contoured grip |
| Primary Use | Roughing the glue area before bonding |
| Best Used With | A steel ruler as a straight-edge fence |
| HSN Code | 820559 |
| Net Quantity | 1 Piece |
Two things to keep in mind. Roughing removes material, so on thin or soft leather use a light hand and check the back of the piece as you go. And never rough beyond the glue line, because an abraded patch on a visible face cannot be undone. Test on a scrap of the same leather the first time you use it.
Share